If you’ve ever walked into your garden and seen tiny green plants spreading low on the soil, chances are you’ve met spurge weed. It looks harmless at first — small, round leaves with reddish stems — but this little weed spreads fast and steals nutrients from your plants.
When I first saw it in my garden, I thought, “Oh, cute ground cover.” A few weeks later, it had spread everywhere like gossip in a small town! My poor flowers looked tired, and my vegetables struggled to grow.
So, if you’re asking how to kill spurge weed, trust me — I’ve been there. The good news is that you can win this fight without harming your plants. Think of spurge weed like an uninvited guest — it shows up quietly, eats all your food, and refuses to leave.
.png)
How Does Spurge Weed Spread So Fast?
This weed is sneaky! A single spurge plant can produce up to 10,000 seeds, and those seeds can remain in the soil for years. The moment you water your garden or it rains, those tiny seeds wake up and start growing again.
Spurge loves warm, sunny places and grows close to the ground, which makes it hard to notice until it’s too late. It spreads through seeds, not roots, so even if you pull out one plant, the seeds already hiding in the soil can sprout again.
Here’s a quick look at why spurge spreads so quickly:
-
Seeds per plant: Up to 10,000
-
Germination time: 5–7 days
-
Likes environment: Warm, sunny, dry soil
-
Spreads through: Seeds, not roots
-
Control difficulty: High if ignored early
Pro Tip: Always remove spurge before it produces seeds — even one mature plant can restart the whole problem.
What Are the Best Natural Ways to Kill Spurge Weed?
You don’t always need harsh chemicals to get rid of spurge weed. Natural methods work wonders if you’re patient and consistent.
Here are a few methods that worked perfectly for me:
-
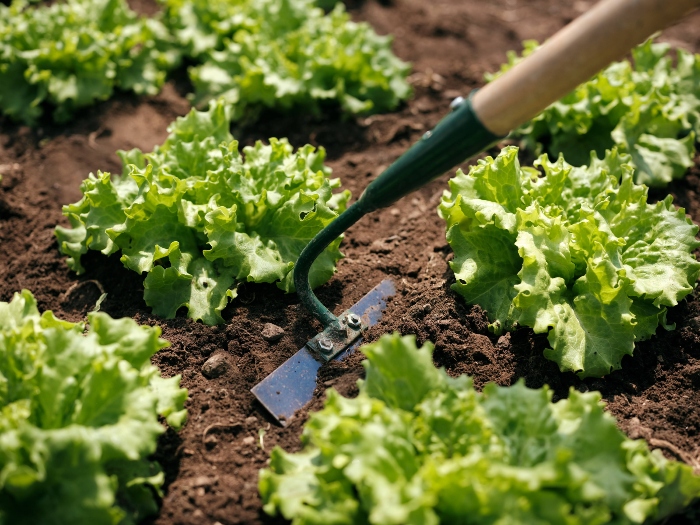
Hand Pulling – Use gloves and pull out the entire weed from the base. Do it when the soil is slightly wet so the roots come out easily.
-
Mulching – Cover the soil with 2–3 inches of mulch to block sunlight that spurge seeds need to grow. Wood chips, straw, or dried leaves work well.
-
Boiling Water – Pour hot water directly on the weeds (avoid your good plants). It burns the roots and kills them instantly.
-
Vinegar Spray – Mix one part white vinegar with one part water and a few drops of dish soap. Spray on spurge weed during a sunny day.
When I first tried vinegar, I sprayed on a windy day, and my nearby flowers got a “vinegar bath.” Lesson learned!
Note: Always test vinegar spray on a small area first before using it widely.
Using natural methods is like teaching your garden discipline — gently, without being harsh.
Can You Use Herbicides to Kill Spurge Weed?
Yes, you can. But you must use them carefully. Not all herbicides are safe for all plants or lawns.
Two types of herbicides work well:
-
Pre-emergent herbicides: Stop spurge seeds from sprouting. Use before spring or when temperatures start to rise.
-
Post-emergent herbicides: Kill existing spurge plants. Apply when the weed is young and small.
Look for products containing oryzalin, isoxaben, or trifluralin (pre-emergent) and glyphosate or dicamba (post-emergent).
Here’s a quick guide:
-
Pre-emergent: Use before seeds sprout; works on spurge seeds
-
Post-emergent: Use on young plants; kills active weeds
When I used a post-emergent herbicide, I made sure to wear gloves and spray only on the weeds. After two weeks, the spurge turned brown and dry. It felt like finally winning a small garden war.
Tip: Always read the label and follow instructions exactly. Overusing herbicides can harm soil and nearby plants.
.png)
How Can You Stop Spurge Weed from Coming Back?
Killing spurge weed once isn’t enough. You must stop it from coming back. Prevention is the real victory.
Here’s what I do every season to keep my garden spurge-free:
-
Regularly Check the Soil: Look closely after watering. Spurge seeds love moist spots.
-
Add Mulch Every Few Months: A fresh layer blocks sunlight from hidden seeds.
-
Fertilize Smartly: Healthy plants grow faster and leave no room for weeds.
-
Avoid Overwatering: Spurge loves damp soil, so water only when needed.
-
Keep Lawn Edges Clean: Weeds usually start from edges and move inward.
I’ve noticed that consistency is key. Think of it like brushing your teeth — skipping one day might not hurt, but ignoring it for weeks will cause trouble.
Note: Regular garden care is the best long-term herbicide.
What Time of Year Is Best to Kill Spurge Weed?
Timing matters. The best time to kill spurge weed is early spring, before it starts producing seeds.
If you wait until mid-summer, you’ll be dealing with thousands of new seedlings. You can still remove them, but it will take longer.
In my routine, I start checking for spurge around late February. I also apply a thin layer of mulch before the weather gets warm. It’s like setting a trap before the thief arrives!
If you missed that time, don’t worry. You can still control it later using post-emergent herbicides or vinegar spray, but early prevention always saves time and effort.
FAQs About Killing Spurge Weed
1. Does vinegar really kill spurge weed?
Yes! Vinegar is a natural weed killer. The acetic acid burns the leaves and roots. Spray during midday when the sun is strong. Be careful near other plants.
2. How long does it take to kill spurge weed completely?
It depends. Herbicides take 7–14 days. Natural methods may need two or three applications. Once the weeds turn brown and dry, remove them to prevent seeds.
3. Can I use salt to kill spurge weed?
Salt can work but is risky. It can damage soil and stop other plants from growing. Only use on cracks in pavement or driveways.
4. What does spurge weed look like when it dies?
Dead spurge turns yellowish-brown, leaves crumble easily, and stems lose color. Pull it out gently after it dies.
5. Is spurge weed harmful to pets or skin?
Yes, some types release a milky sap that can irritate skin or cause allergies. Wear gloves and keep pets away until it’s removed.
Conclusion – Take Control Before Spurge Takes Over
If you’ve read this far, you already know how to kill spurge weed — and more importantly, how to prevent it from coming back. The trick is consistency and timing.
At first, fighting spurge might feel endless. But every garden challenge teaches patience. It’s like a quiet battle — slow, steady, and worth it when you finally see your clean, healthy soil again.
I remember the first time I cleared my garden of spurge. It felt like removing a heavy blanket that had covered my plants. They started growing again, brighter and happier.
So, grab your gloves, prepare your tools, and start today. A beautiful, weed-free garden is just one cleaning day away!
.jpg)
.jpg)
.jpg)
.jpg)


.png)


